|
|
Mikio Toki
a master of traditional Edo style kites
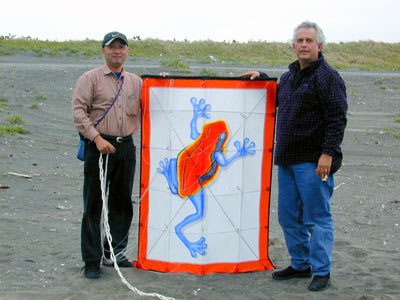
We met Mikio Toki at the American Kiteflyers Association convention in Santa Monica a few years ago, but hadn't communicated with him until recently. I (Bob) saw a posting on the rec.kites newsgroup the pictures of an Edo master had been added to the Japan Kite Association website. A link was provided to Mikio's website . After viewing his website I realized he was the person to contact about learning the Edo style of bridling. Jennifer painted a blue legged frog that I sewed into an Edo style kite, but in the 4 years since we made it, I've never been able to get it to fly very well. Scott Skinner had suggested that the only way to learn edo bridling is to go to Japan. So when we were invited by the JKA this year, I emailed Mikio: tokikite@nifty.com.
|
|
|
|
 |
|
|
|
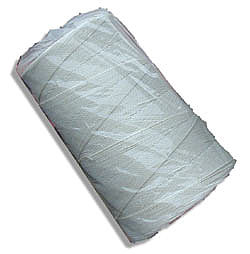
| We’d asked if we could spend time with him in his studio and learn about his kites, his painting and how to bridle the edo style kites. We’d been exchanging information over the internet with Mikio and he'd been answering our questions, demonstrating his excellent knowledge of the subtleties of the English language. He told us that the traditional bridle lines were made of hemp and coated with persimmon juice, though now a dilute wood glue is used to stiffen the lines to prevent tangling. Last year at Uchinada we learned how the bridles were ganged in groups and then adjusted with half hitches. The type of line was a further clue. |
|
|
|
|
|
|
 |
|
|
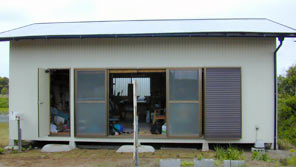
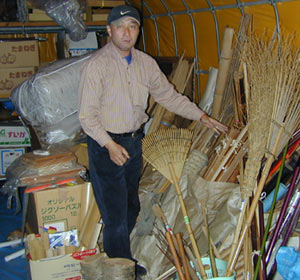
| Mikio drove us the several hours to his studio. We were the first foreigners to visit this studio, and we were very honored to be there. It is located near the coast in Chiba and about 3/4 of an hour from his home, so he often goes there for 2-3 days at a time to paint and make kites, where he is isolated except for his cell phone. |
|
|
 |
|
|
 |
|
 |
|
|
 |
|
|
|
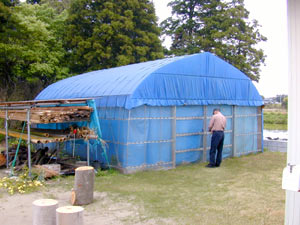
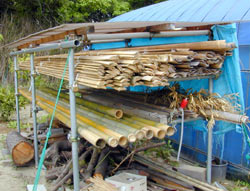
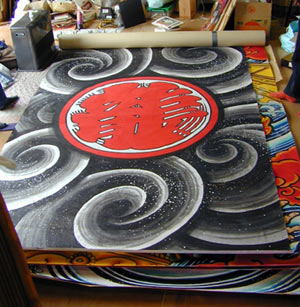
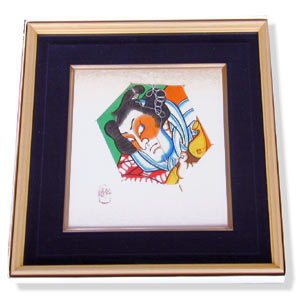
| He showed us his shed for supplies where he ages bamboo for 3 years before using. He cuts the bamboo (madake or Phyllostachys bambusoides is the only species used) and splits it in quarters within 6 months. It is then turned and aged for the next 2-3 years. He glues the pieces of washi paper (Japanese mulberry paper) so the overlapping edge is on the top of the next sheet using a paste glue combination. This is so the paper doesn't lift off as it flies. In addition he glues a light gauze cloth on the back of the paper for added strength so he can roll the paintings up. |
|
 |
|
|
|
 |
|
|
|
 |
|
 |
|
|
|
 |
|
 |
|
 |
|
 |
|
|
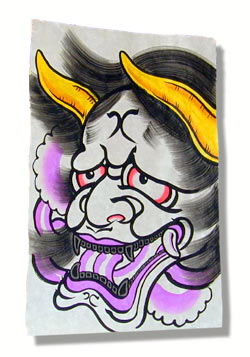
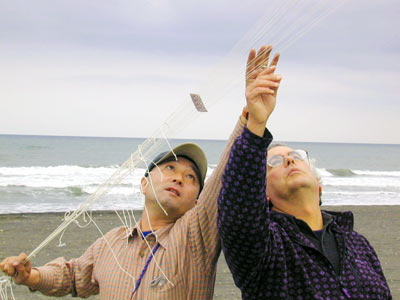
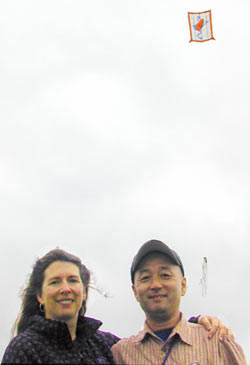
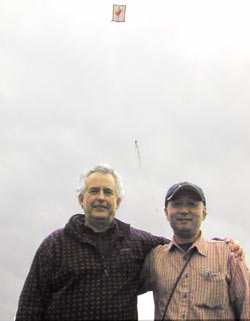
| After we spent several hours seeing his large kite paintings and discussing how he paints and makes kites, we set about the task of bridling the blue legged edo kite we brought with us. We set the kite up on the ground, front side up, and bowed, and staked it down. We tied a braided "horse tail" of hemp line to a telephone pole about 100 feet away. Then we tied the first line to the top outer attachment on the kite and walked it to the telephone pole, where the line was tied to a loop on the first row in the "horse tail". We walked back and forth 17 times to tie all the bridle lines under a slight tension. This make a course setting for the bridles. The lines are kept separate by a leather "card" with holes punched in it. Then we drove to the nearby beach and tied the bridle to a stake, and launched the kite. It went up perfectly. We then adjusted all the lines to be in parallel and to the right flying angle for the wind conditions. Mikio explained how to adjust the lines. He made it so simple. |
|
 |
|
|
|
 |
|
|
 |
|
|
|
 |
|
|
|
|
|
|
|
|
|
|
|
|
|
|
|
|
|
|
|
|
|
|
|
|